Overview of Tooling
Anvil2 is set up to be consumable to other AI tooling. Anvil2’s codebase is reachable as a public NPM package, and its documentation via an MCP server. The Anvil team is always available to provide additional help on the #ask-designsystem Slack channel. Below is a list of common tooling that utilizes Anvil2 in some way.With Figma
Figma is the tool of choice for many builders to create UI artifacts. Figma Design is the most common way product designers create UI artifacts. Figma Dev Mode (Code Connect) allows builders to both implement Figma Design work and to generate code using Anvil2 + Figma Design. Figma Make, their most recent tool, provides a way to prompt out prototype-grade code, used by many builders.Figma Design
Figma Design on its own utilizes Anvil2 significantly through its component library, but by itself does not provide additional AI capabilities. Anvil2, through Code Connect, allows engineers to translate Figma Design work into code that uses Anvil2.
Optimizing a Figma Design file for other AI tooling
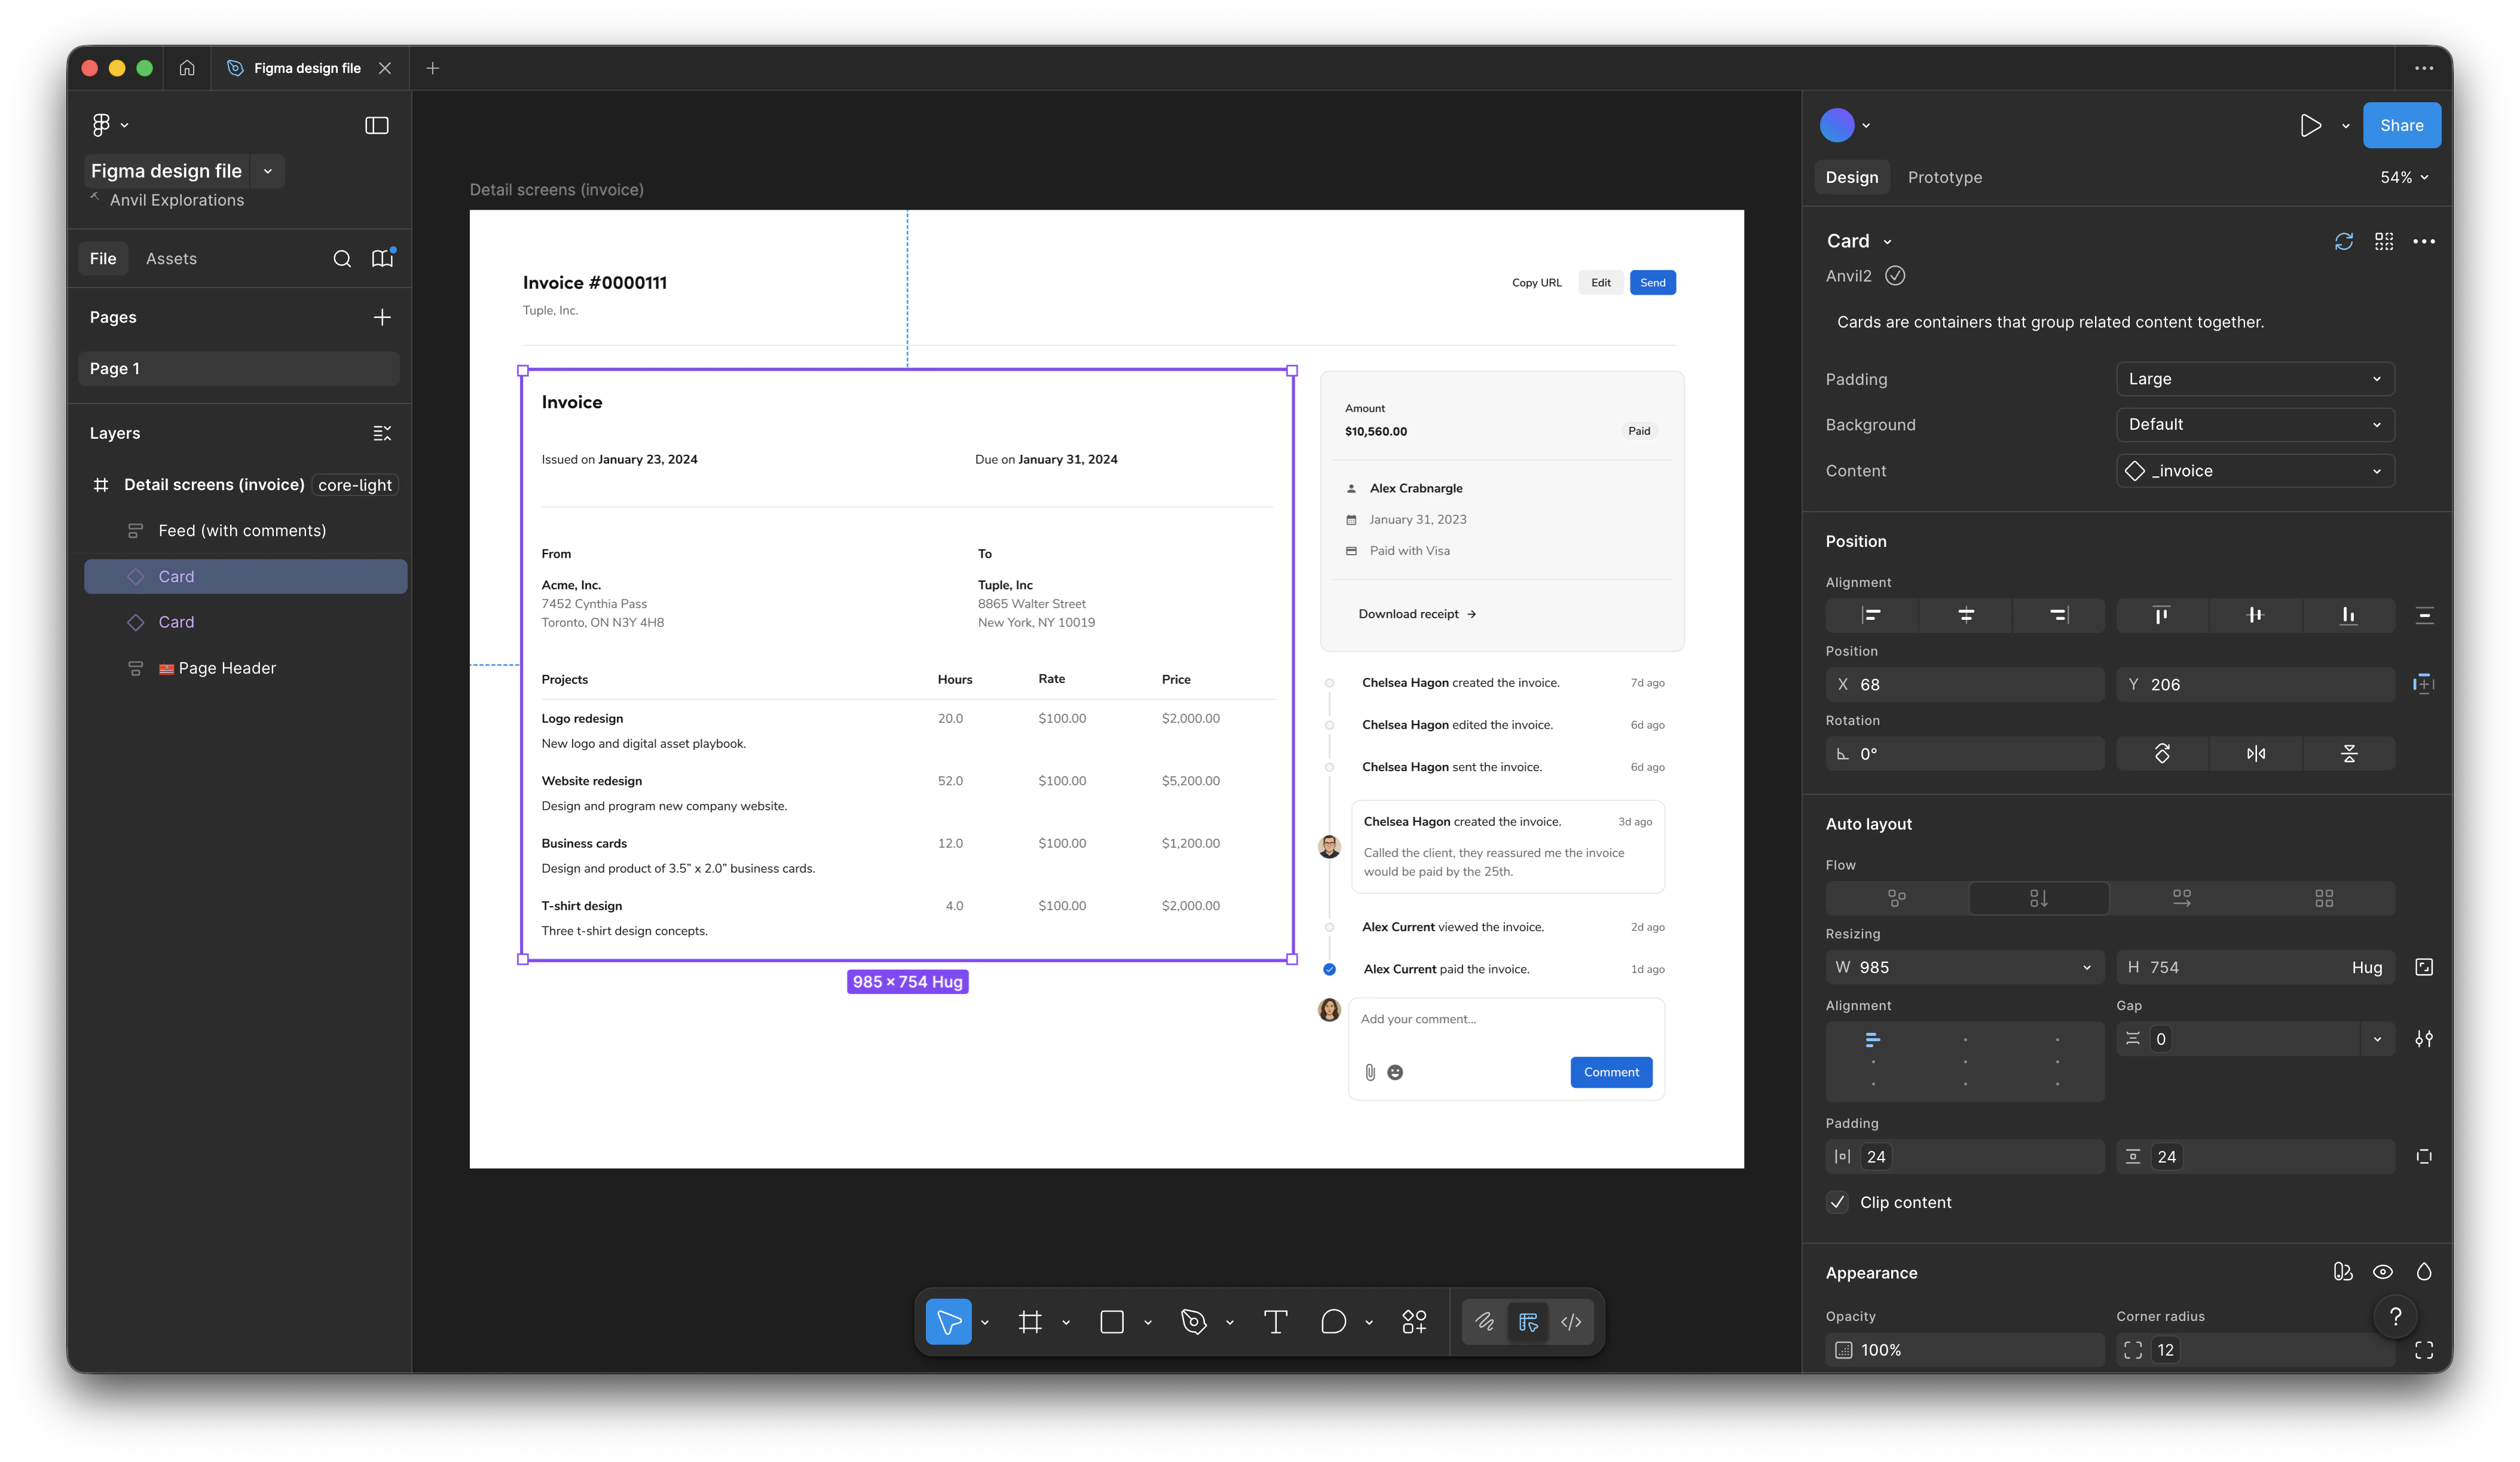
A Figma design file can be consumed by other AI tooling. The best practices within a Figma file revolve around smoothing the translation.- Avoid detaching Anvil2 components as much as possible. Anvil2 components use Code Connect to integrate the Figma asset with its code counterpart. Detaching diminishes this integration.
- Use Figma variables with styling whenever possible. Avoid using the A1 Figma styles.
- Use semantic variables (labeled as
Anvil2 / Semanticin Figma) over primitive variables (labeled asAnvil2 / Primitivein Figma). This enables dark mode compatibility. - Colors in particular should be defined using variables.
- Spacing values in general should use defined variables.
- Use semantic variables (labeled as
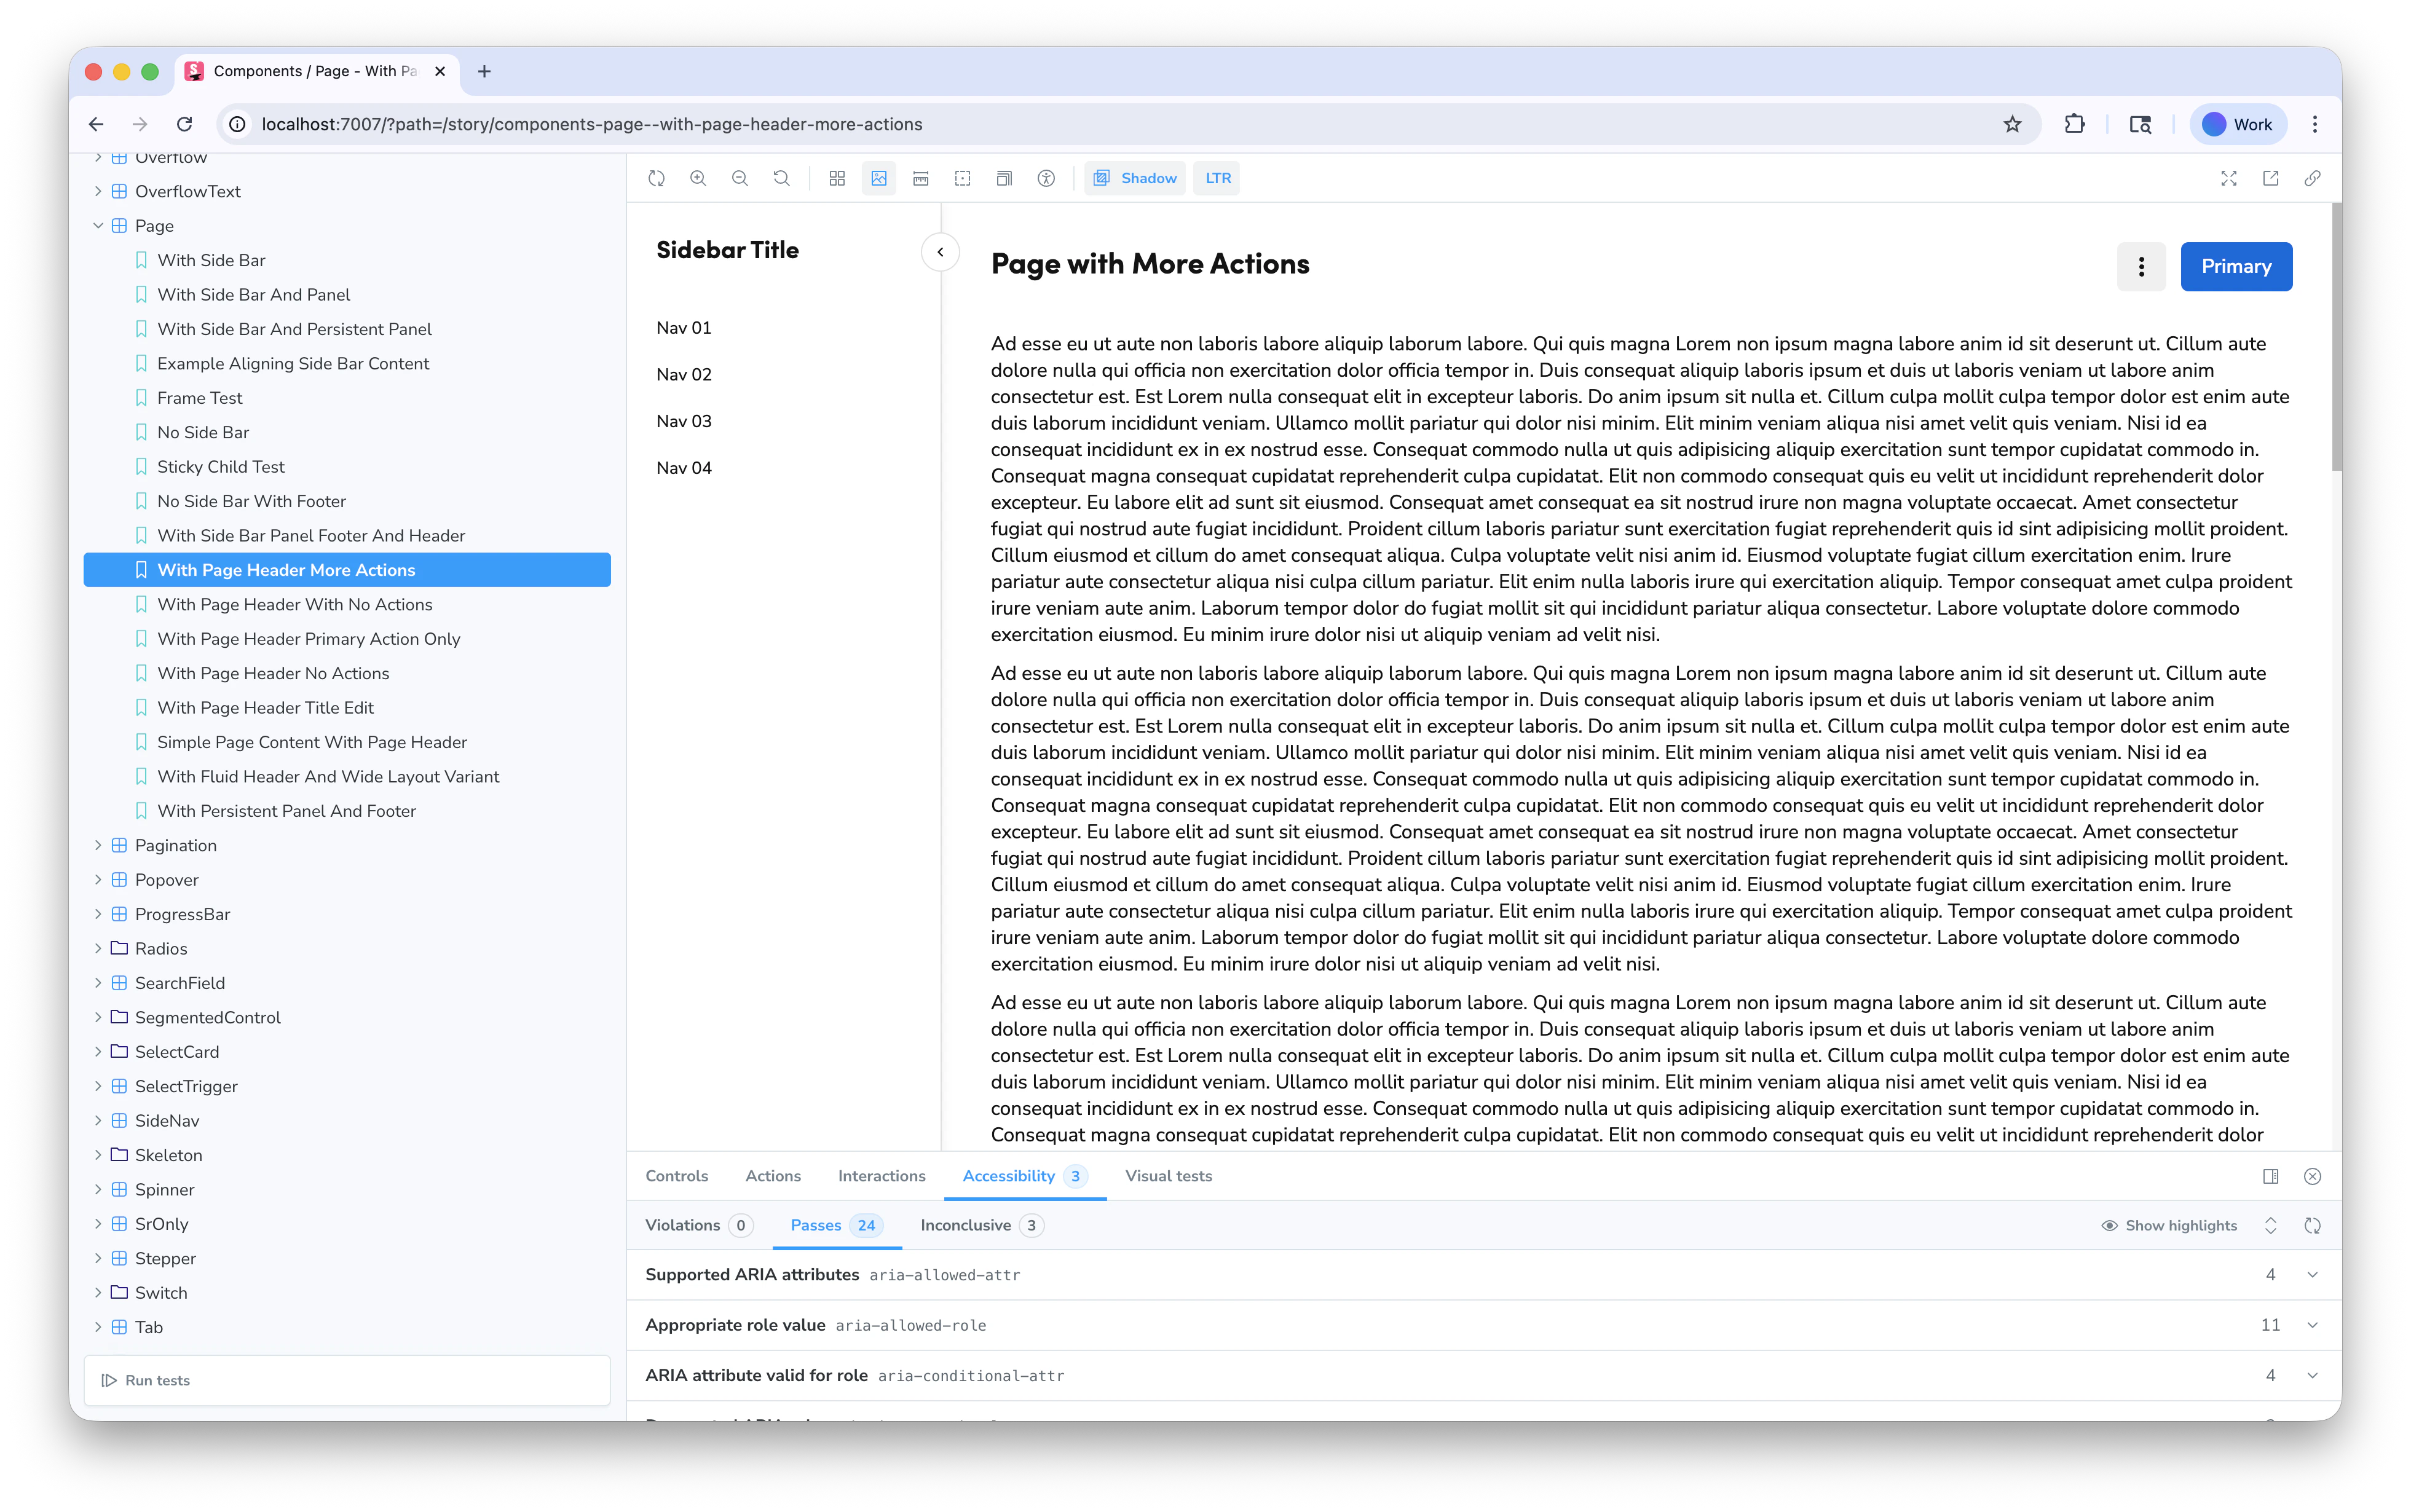
Figma Dev Mode (Code Connect)
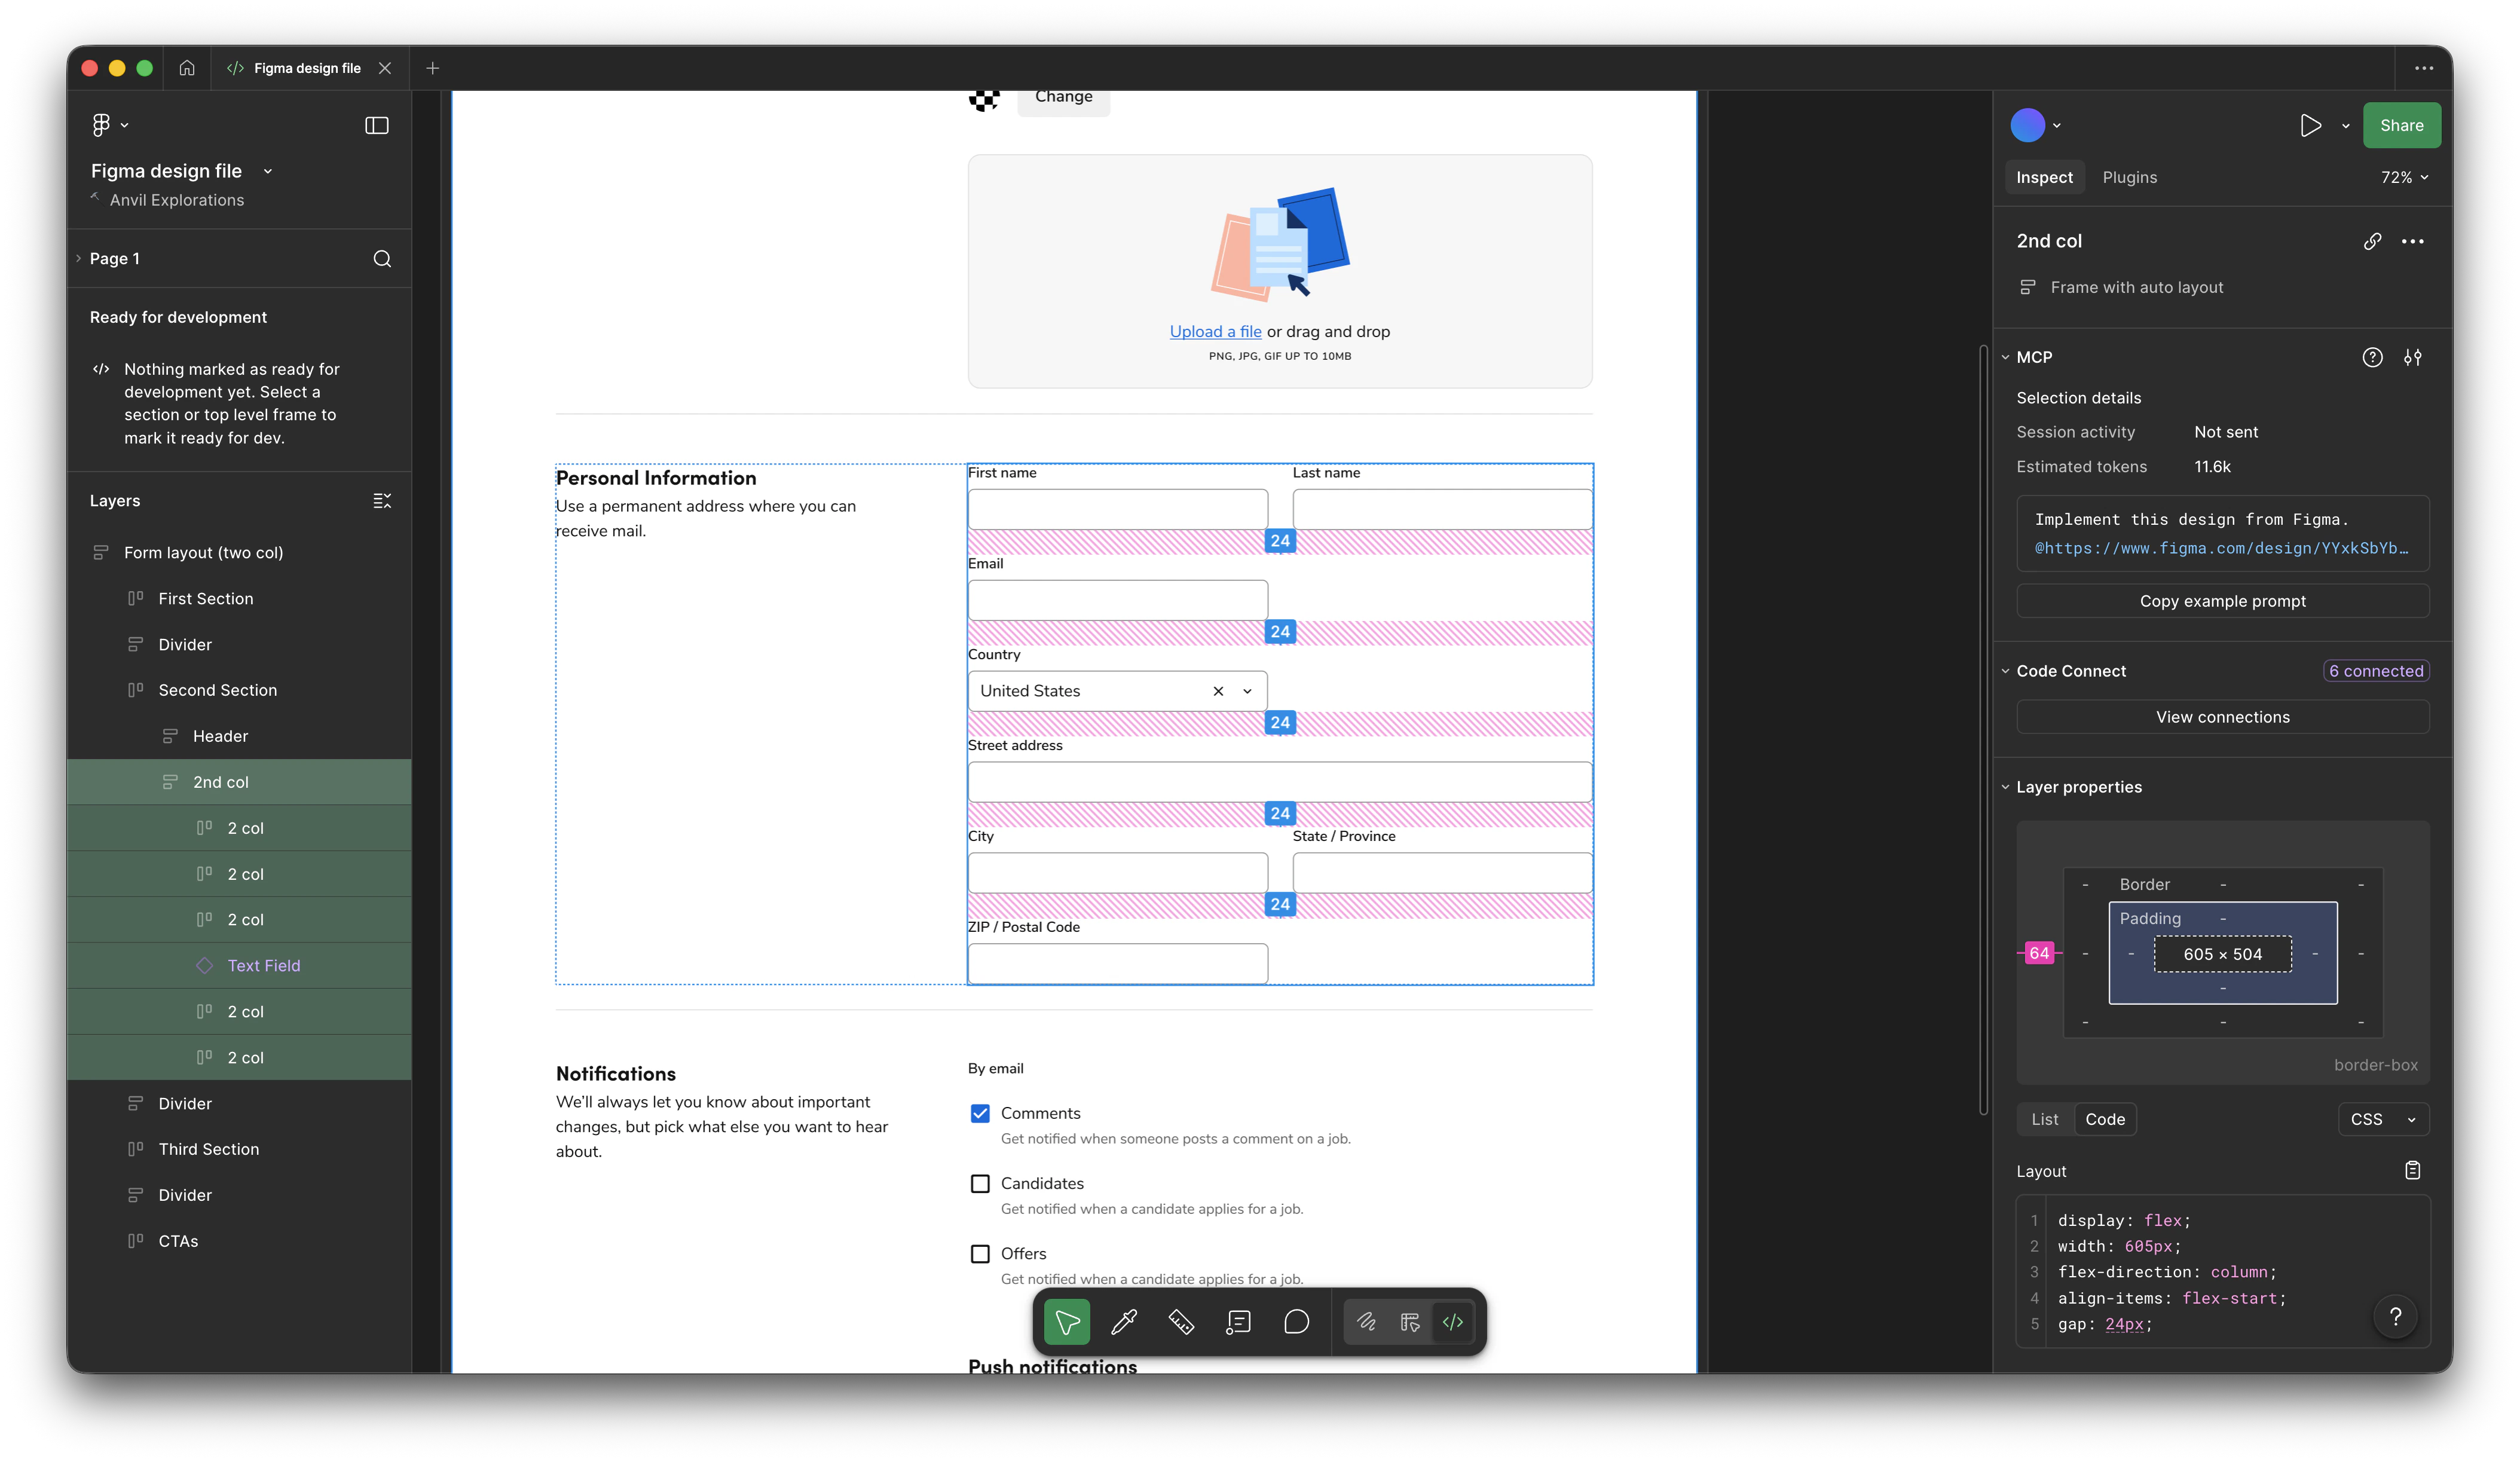
Figma Dev Mode with Code Connect allows engineers to see the exact React code for any component directly in Figma, making handoff seamless and accurate.
Code Connect using Anvil2
Code Connect is automatically set up for Anvil2. When viewing the frame of a Figma Design file, a consuming application can pull in the correct configuration of the component.Code Connect using product-specific components
It is possible for product-specific components to also be paired with Code Connect. By creating your own consumable component in code, a designer can in turn create a Figma-equivalent asset, and then an engineer can pair both to Code Connect. This process is owned by individual product teams. More information on how to do this can be found in Figma’s documentation on Code Connect.Figma Make
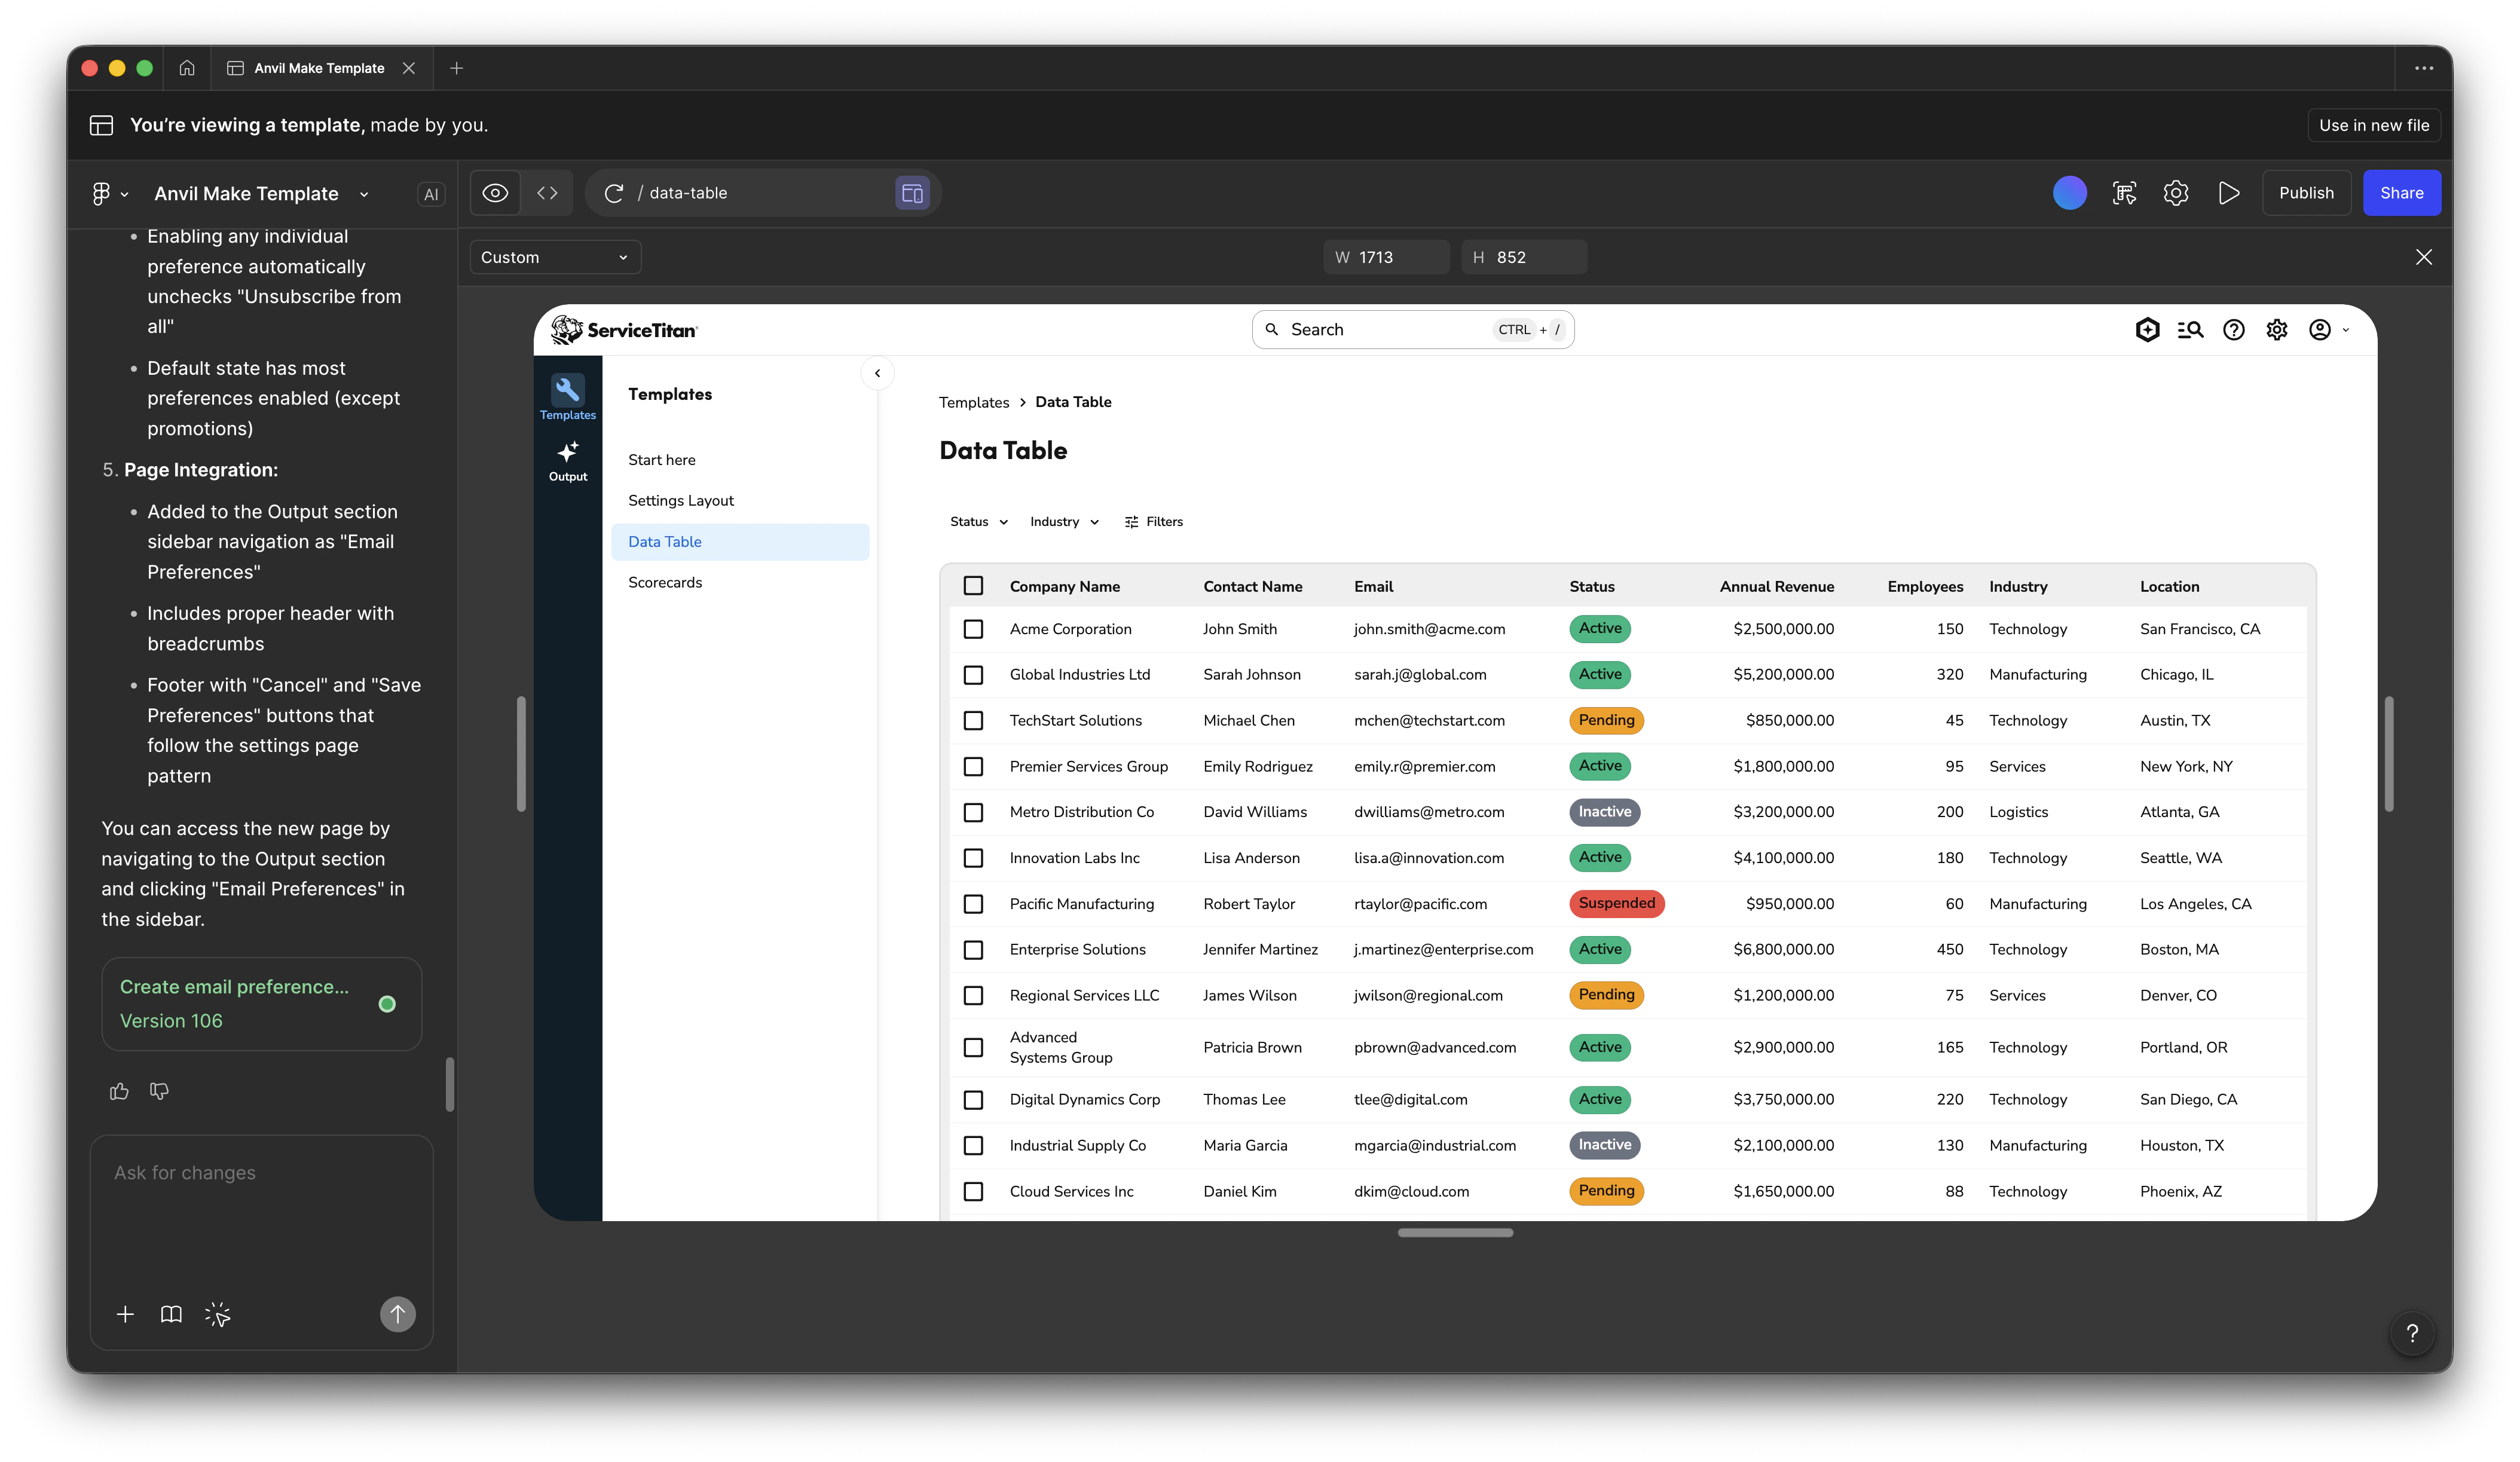
Using the Anvil Figma Make Template generates real Anvil2 component code. While most use it for prototyping, all Figma Make output should be reviewed before production use.Additional guidelines for builders on Figma Make can be found in Confluence.
Combining Figma Make with Anvil2
When using Anvil’s official Figma Make template, Anvil2 is already integrated into the code. If starting from a fresh file, consult the official Figma Make documentation for guidance on how to include Anvil2 in your file (our package is called@servicetitan/anvil2 and is a public package).
Anvil2 Documentation Connector
You can also add an official Anvil2 connector to your Figma Make file that ties into the Anvil2 documentation site. This allows you to get access to Anvil2-specific rules and guidelines, as well as the ability to generate code examples from the documentation. This is a useful addition when not using the official Anvil2 template.Using guidelines
Guidelines are a critical step in ensuring Figma Make generates accurate UIs. Within a Figma Make file, guidelines can be found by clicking on the gear icon (‘Make Settings’) and going to ‘Adjust guidelines’. Anvil provides pre-made guidelines for Figma Make, and are provided in our starter template file.Adding product requirements documents (PRDs)
Figma Make can intake in PRDs in a few different ways. Refer to the Figma Make documentation on how to do this.Basic file hygiene
Many Figma Make files are produced by Builders from many backgrounds. This section outlines some basic practices for maintaining a Figma Make file.- File location
- Make files should follow the convention of your product area. Read more about the proper workspace structure in Confluence.
- Make files should not live in a drafts directory. This makes them inaccessible to other Figma users, including as shared demos.
- Make files can co-exist with other Figma files (design, Figjam, etc.).
- You can move files after the fact (‘Move file…’ from the file name dropdown menu) if they are in the wrong location.
- Verify that guidelines in the file are accurate and up to date.
With AI-powered Code Editors
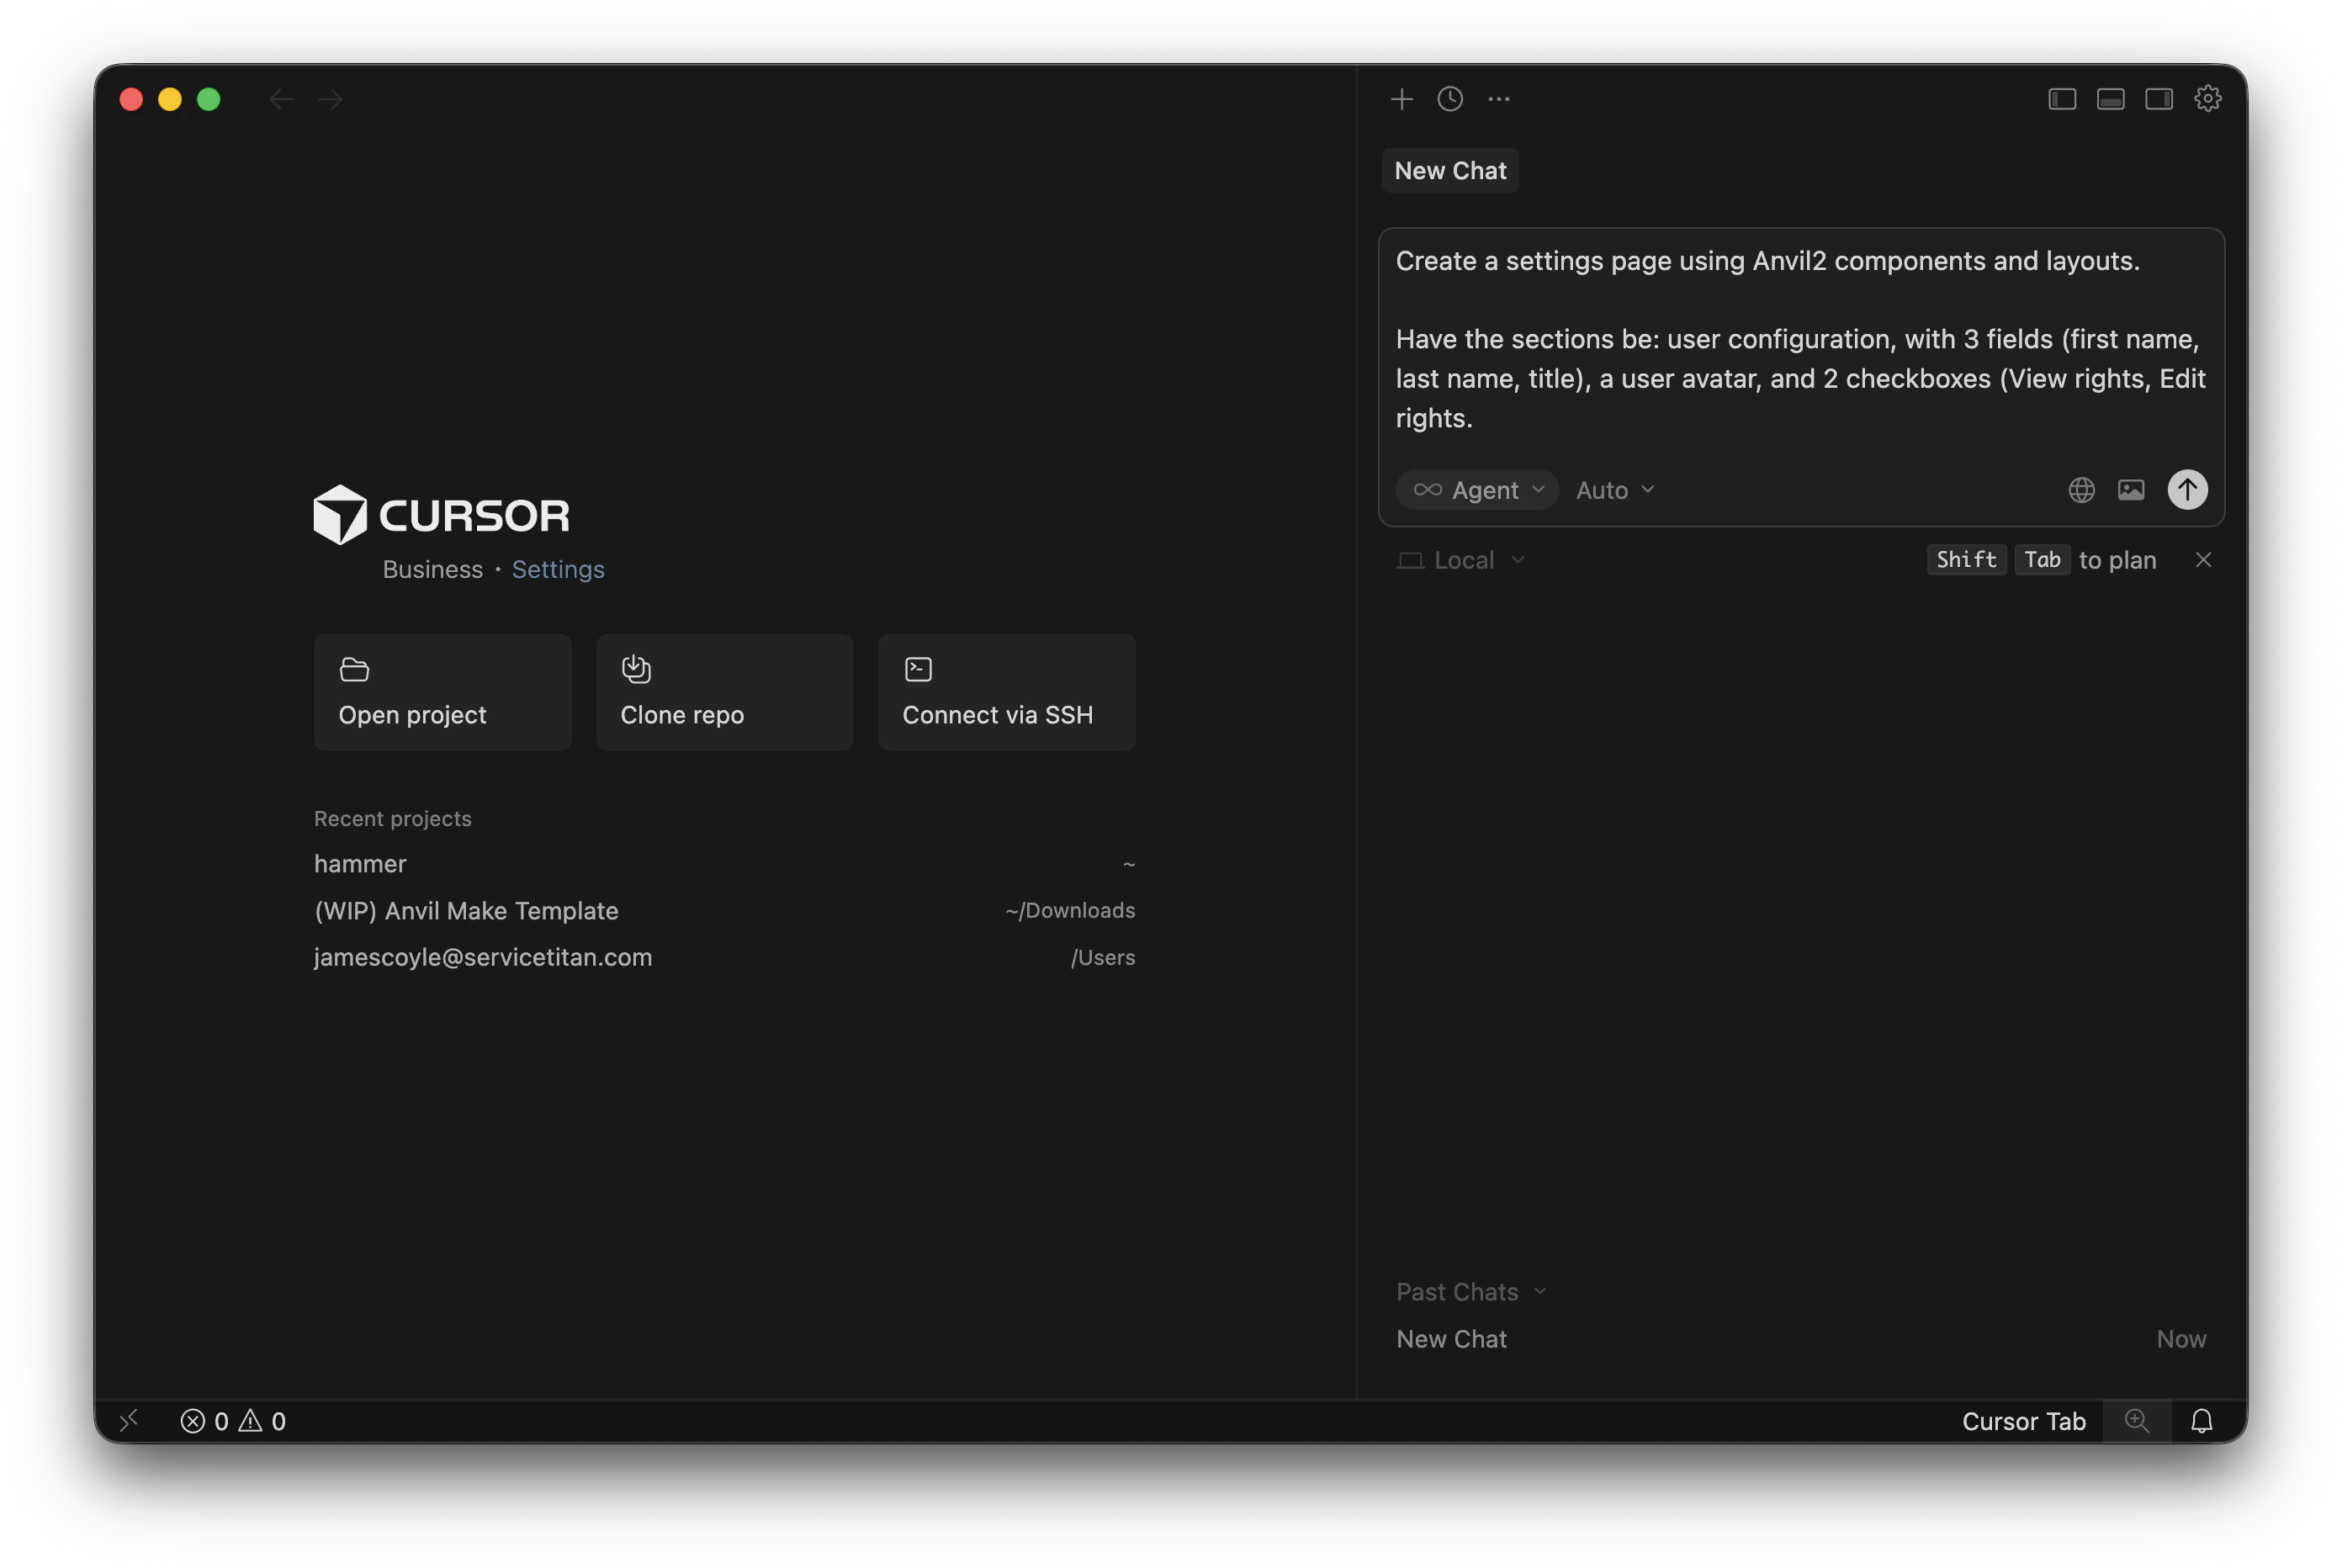
AI-powered Code Editors, such as Cursor and Claude Code, can leverage Anvil2-specific rules and guidelines to help write better code and component implementations. You can connect your code editor to Anvil2’s MCP server to get access to Anvil2-specific rules and guidelines.
Using AI-powered Code Editors as a prototyping tool
AI-powered Code Editors may be used in place of a tool like Figma Make to generate UI examples. It can be used in conjunction with Storybook, or a product environment provided by the product team.Advantages of using AI-powered Code Editors over Figma Make
- Provides more powerful developer tooling than Figma Make.
- Can use many more models.
- Can more easily reference the codebase in prompts.
- Can be used in multiple frontend environments.
Disadvantages of using AI-powered Code Editors over Figma Make
- More difficult to share outside of a local environment.
- Can be more difficult to get started with.
With Storybook
This section refers to setting up your own Storybook. Anvil2 itself also uses Storybook, but that setup is not related to this section.
- Can quickly set up a front-end environment with minimal setup or dependencies.
- Easy to use UI for navigating your own generative content.
- On its own, is a free tool to use.
- Can be hooked up to Chromatic for visual regression testing.
- It is more difficult to share outside of a local environment.
Visual Regression Testing
Storybook integrates with Chromatic for visual regression testing, ensuring components maintain their appearance across changes. Individual projects need to be manually set up to use Chromatic.With Claude Design
Claude Design does not use the design system under the hood. We suggest it be used only for concept work at this time. If you intend to create within the guidelines of the design system, we suggest Figma Make.Claude Design should not be confused with Claude Code, which can use Anvil2. See AI-powered Code Editors.
Anvil2 Design System (Official • Web Product), to utilize.
Advantages of using Claude Design:
- Can quickly generate many ideas for a UI, and easily compare against them
- Asks the builder many useful questions when preparing a UI
- Easy to share across the ST org
- Can be sent to Claude Code for later refinement
- Cannot directly use the design system
- Contains many opinionated, difficult to change instructions under the hood that deviate from ST guidance
- Cannot easily share outside of ServiceTitan
- Locked into Claude models, while other tools can utilize models such as Gemini or ChatGPT
With other tooling
Connecting Anvil2 documentation to other tools
Anvil2 provides a MCP server that can be used to connect to other tools. For some tools, such as Figma Make, a connector is provided to do this. For other tools, you can manually set up the connection by taking the MCP server URL and adding it to the tool’s configuration. Most setups can be additionally guided through your preferred LLM chat assistant.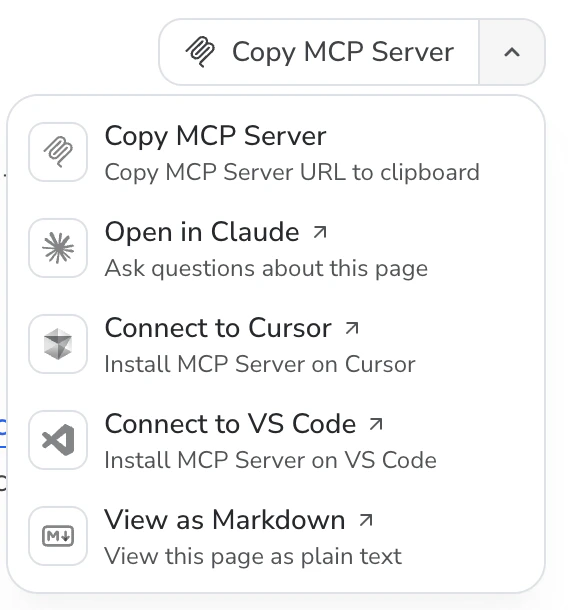
Mintlify Documentation
The Anvil2 documentation site is built on Mintlify, which provides:- AI-powered chat assistant for asking questions about the design system
- MCP (Model Context Protocol) server for integration with other AI tools
- Searchable, comprehensive documentation
General prompting guidance
We recommend making sure some level of prompting guidance is applied to any AI tooling so that the AI is aware of the context of the project and the design system. Some specific tools mentioned above provide pre-configured prompting guidance and do not need to be manually configured.Have the AI know which packages are available to use
Example guidelines
Have the AI know to use the correct styling
Without knowing the correct way to apply styling, AI tooling will frequently create its own system, or rely on an unsupported 3rd party library. This should be avoided.Example guidelines